This is a digital content – includes two models:
1. Side Panel for HackerGadgets USB Hub Extension Board
2. Side Panel for HackerGadgets AIO V2 Extension Board
For detailed guides and other parts needed, the step by step guide can be found here.
Printing Instructions
- Recommended Materials: PETG, or PLA (high temperature resistant variant)
- Nozzle: 0.4mm, printing quality to highest quality if possible (e.g. 0.08mm fine/extra fine)
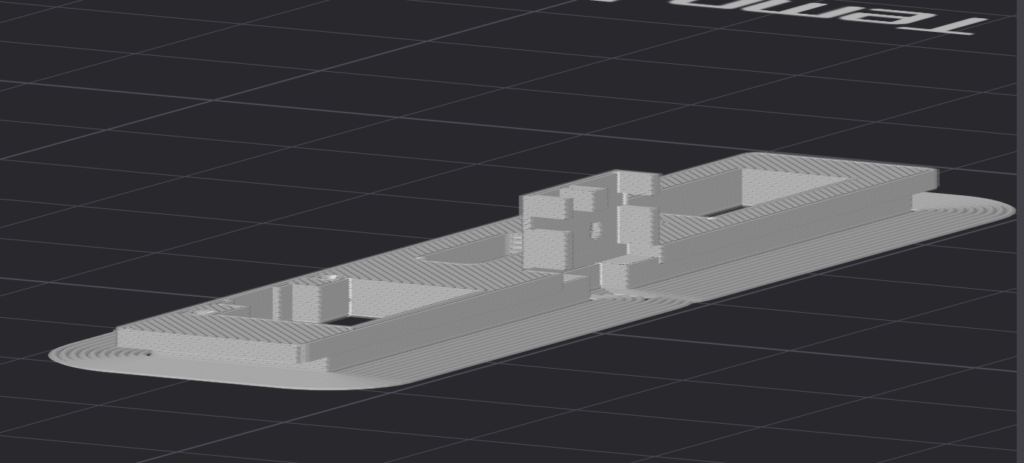
- Print Direction: Lay the out-wards facing surface to the printing plate (see illustration below)
- Print Support: It may not need support, I find small amount of overhangs errors does not affect the installations (actually helps with easier insertion); If you do want support, only use the support around the side edges, don’t use support for the switch holder area.
- Brim: Add outer brim only, without the brim the ethernet parts may not stick to the bed well enough, or you maybe able to print correctly using glues etc to increase the adhesives without brim.
- Post Processing: Since these are small parts & compartments, during post process, you must clean up any print overhangs, mainly two places:
- switch placeholders & ping gaps (4 pins on left & right), as there might be small amount of overhangs flow into the small gaps (test the switch can sit in the case snuggly before soldering)
- Left/right sider overhands, may need to be trimmed & cleaned with knifes for installing & fitting the side panel.
Print direction illustration
Support & Liability
DIY Disclaimer: This is a hobbyist project for a hackable device. The seller is not liable for any damages to the uConsole or its components resulting from the printing, assembly, or installation process. Proceed at your own risk.
Model Support: I provide full support for the functional aspects of the 3D model, specifically regarding key press responsiveness and mechanical fit.
License is limited for Personal Use.